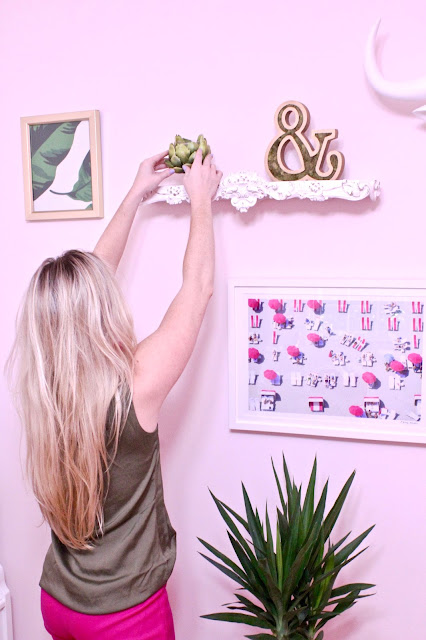
I've always wanted to create a gallery wall, but the actual process of putting it together was intimidating. I always felt overwhelmed by the idea of committing to an arrangement because it meant that I wasn't allowed to change my mind or put 100 holes in the wall. Anyway, I finally did it! And, I'm kind of proud of myself for taking my time and sitting on the idea for a couple of days. Gallery walls don't need to be rushed. Think it through and follow my easy steps below to ensure that you have the look you want before you put the hammer to the nail. :)
Step 1: Decide on your gallery wall theme and what items you want to include
- Choose a focal point. For me, I was obsessed with this Gray Malin print that my husband got me this past Christmas, and I thought it fit perfect with the overall vibe of my room.
- Choose frames and/or items that have different shapes and textures. It can add so much dimension and personality to your wall. Also, don't be afraid to mix in different prints! I'm a lover of all things printed and I clearly went out of my way to ensure that there was some splash of Katie Kime.
- Work in odd numbers. Symmetry isn't everything, so don't get hung up on spacing your wall items perfectly, having the same frames, etc.
Step 2: Prep
- Patience is key in creating a gallery wall. Take the time to trace and cut out shapes of paper that match the dimensions of your wall items. You can then use painter's tape to hang the silhouettes on the wall. This will allow you to step back and play with your arrangement design.
Step 3: Hang your items
- Transform your vision into reality.
The Jefferson Lane Design Look
- Framed fabric - I repurposed leftover Katie Kime banana leaf fabric by framing it! Such an easy DIY. Measure, cut and voila!
- The modern antique - I'm all about reviving antiques and incorporating them into my design style. There's something about this paradox that I love.
- Animals - If you knew the number of different faux animal heads I had in my personal collection, you might throw up. My house is HomeGoods.


