Tuesday, May 23, 2017

Bridal Shower Details


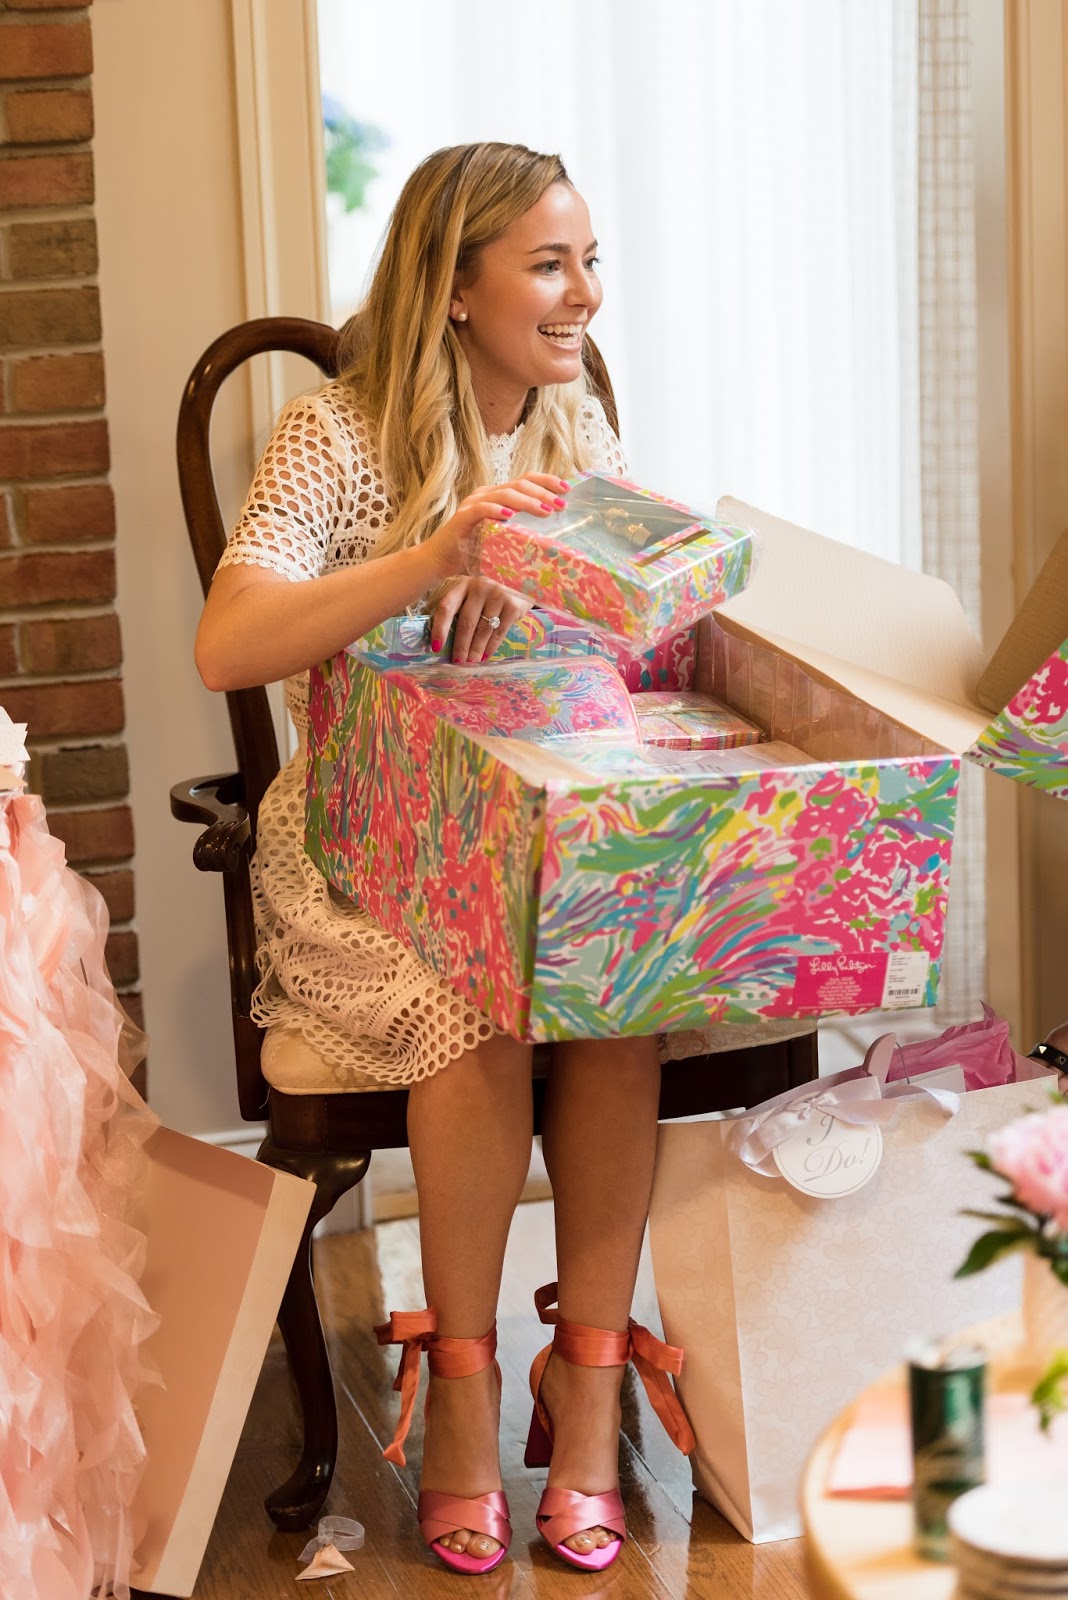
Wow! It has been forever since I last posted! Life has kept me busy, from wedding planning to my full-time job. 2017 has already been such a crazy year! I promise that once I get back from my honeymoon the DIY projects will make a comeback! In the meantime, I wanted to share some of the beautiful details from my bridal shower that my mom and lovely aunt threw for me a couple of weeks ago. From the flamingos, peonies, rock candy to the bubbly, everything was perfect! My mom is actually Martha Stewart. 

Photo Credit: Curtis Mason


Sunday, February 5, 2017

Shibori Lover


I recently discovered Shibori and I'm literally DYEing over the results! Aren't you???! Shibori is a Japanese dying technique that involves the folding, twisting and binding of fabrics to create intricate patterns and designs.  Basically, it's fancy tie dye. I'M IN LOVE! The best part about this DIY is that it is surprisingly simple and there are an infinite number of patterns that you can create. Plus, it doesn't matter if  your patterns are imperfect.  Each design is unique and has its own character!

Materials:
Rit Liquid Dye in Navy Blue
White Cotton Napkins - only natural fibers will absorb the dye, so make sure to stay away from synthetics
Twine/String or Rubber Bands
Cardboard
Scissors 
Bucket
Rubber Gloves

Steps:

For my Shibori, I wanted to create two types of patterns for my napkins (triangular and square). I cut out my shapes from a piece of cardboard, folded the napkins accordingly, placed the cardboard shape on top, and then bound the napkins with string. You can use rubber bands for this as well.

Mix your dye according to the package instructions in a bucket.

Run each bound napkin under cold water so that the fabric can easily absorb the dye once submerged.

Place your napkins in the dye and allow them to soak for 20-30 minutes. The longer you keep them in, the darker the color.

Put on your rubber gloves, remove the napkins from the dye and remove the cardboard and string.

Run the unbound napkins under cold water until the water runs clear. Hang dry. 

There are so many fun Shibori dye patterns out there to play around with! Get creative and get dyeing!!!!


Thursday, January 26, 2017

GALentine's With Pike & Rose


I am so excited to officially announce my collaboration with Park & Rose for their GALentine's event! What an honor!  I will be there with a couple of other amazing vendors kicking off Valentine's Day the right way, with your girlfriends, cocktails, and flowers!

For event details and tickets, see below: 

"No significant others allowed! Grab your best girlfriends and join us at the 930 Rose Sales Gallery for a GALentine Party. Learn to make your own bouquet from Jefferson Lane’s Julie Eaheart, enjoy flower inspired cocktails from City Perch and taste fun chocolate and flower infused oils and vinegars from Seasons Olive Oil.
Your $10 ticket includes:
- Two drink tickets
- Your own flower creation to take home
- Tastes from Seasons Olive Oil
Interested in a VIP experience? Check out Gilt City for a $29 ticket for two pack with exclusive VIP perks."

Tuesday, January 17, 2017

Wedding Details - Social Media


Well HELLO 2017! It has been awhile since my last post! Life and the holidays caught up with me and, unfortunately, DIY projects took a backseat (sigh). I am super excited for what 2017 has in store and I can't wait to share some DIY fun with you!

Wedding details have been on my mind A LOT recently (only 135 days to go - YAY!) and I thought it was about time that I share some DIY decor ideas with you.  There truly are SOOOO many budget friendly decorations that you can make on your own!

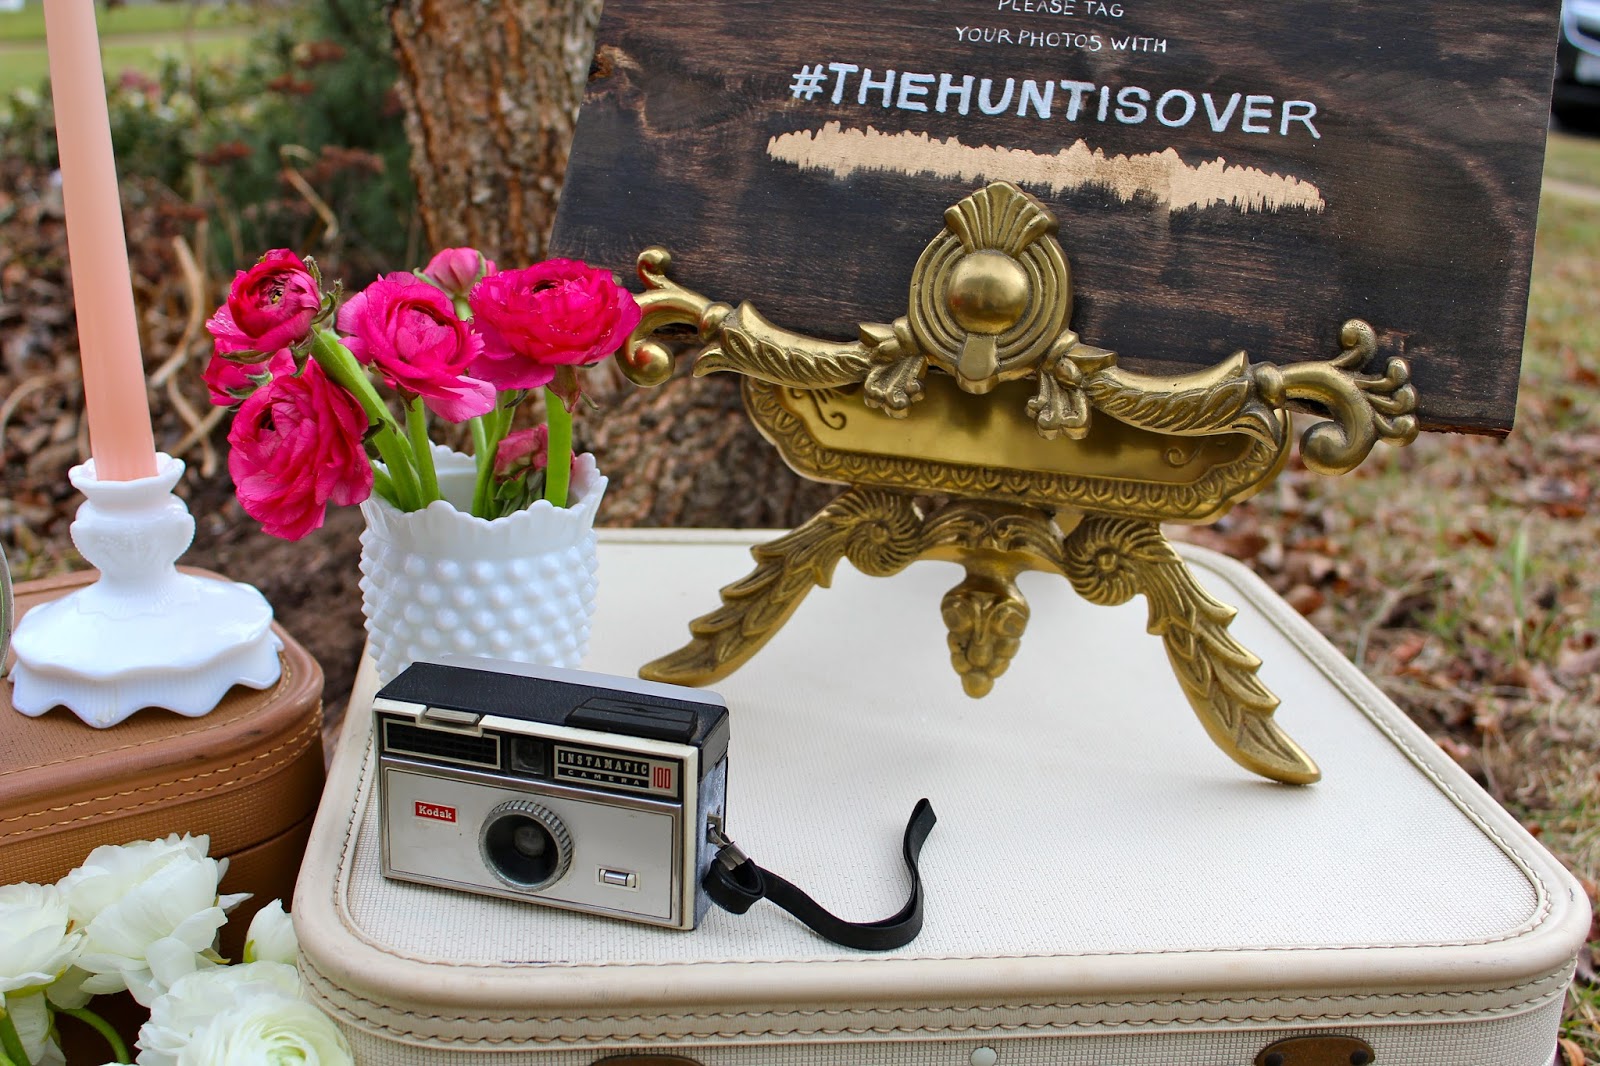
Today, I'm focused on the incorporation of social media elements in your reception design. Everyone knows that in today's day and age social media plays a big role in documenting wedding festivities, from Snapchat to Instagram and Facebook. So, come up with a good hashtag! It's okay if it's corny, as long as it is special to you!

Once you've picked your hashtag, you have to start to think about how you would want to visually capture the attention of your guests so that they remember to incorporate your wedding hashtag in their social media posts. Given that the overall theme for my wedding is rustic/elegant, I thought that a display of vintage cameras, suitcases, small floral arrangements, and a DIY sign (of course) was a creative way to "advertise" my hashtag, see DIY details below.

Wedding Snapchat filters are also a fun and cheap way to incorporate social media! You can find so many great filter designs on Etsy that range anywhere from $10 to $25. Whether you purchase your design or create your own, all you have to do is submit it to Snapchat, pay a nominal fee and viola! All of your tech-savvy guests will love it!

Materials:
Transfer paper
Printer
Pencil or Pen
Tape
Paint Pen
Wood Stain - I used dark walnut
Foam Brush
Wood Slab - mine is from Michael's

I messed up the "and help us capture the love" part of my sign and ended up just covering it up with some liquid leaf. You can always fix your mistakes!!

  1. Stain your wood slab. I would allow for 24 hours of dry time. My wood slab wasn't exactly dry, so I got stain all over my arm and the transfer paper didn't work as well. :( Learn from my mistake.
  2. Create your sign wording in Microsoft Word or PowerPoint. Print. 
  3. Cut a piece of transfer paper that fits over the surface of your sign and tape down the corners. 
  4. Place your sign print-out on top of the transfer paper and tape down to secure. 
  5. Trace over the letters with a pencil or pen. Make sure to apply enough pressure so that the transfer paper works properly. 
  6. Remove the transfer paper and begin to trace the letters with your paint pen. (I did 2-3 coats)
You now have a Pinterest-worthy sign!  This DIY is quite the forearm workout, so you'll need to pour yourself a glass of wine after. Cheers to being #creative!